Harnesses

Dog harnesses. An oddly specific topic I’ve found fascinating for decades, for as long as I’ve held interest in sled dog sports. Since ancient history the indigenous peoples of the arctic have used hide harnesses that have gone mostly unchanged to this day. During the gold rush and the westernization of Canada and Alaska most dog sled harnesses looked like mini draft horse harnesses.

An Inuit Dog and his seal skin harness (quite similar to an x back harness, without the X) https://thefanhitch.org/V12N2/V12,N2TraditionalKnowledge.html

An Inuit Dog and his seal skin harness (quite similar to an x back harness, without the X) https://thefanhitch.org/V12N2/V12,N2TraditionalKnowledge.html

Gold Rush era harnesses in Alaska in the late 19th century. Basically a miniaturized draft horse harness. https://postalmuseum.si.edu/gold/stars.html

Gold Rush era harnesses in Alaska in the late 19th century. Basically a miniaturized draft horse harness. https://postalmuseum.si.edu/gold/stars.html

Today, the cutting edge of dog powered sports are more focused on competition than survival and travel. With competition, modernization of materials, and manufacturing comes a new wave of innovation.

I myself have experimented with 4 styles of pulling harnesses with recreational mushing.

The X Back

If you go to any kind of dog sled race this is the primary harness design you will see. It’s tough, tried, versatile, simple, cheap, and easy to come by in the mushing community. If you’re going in to the back country for weeks, this is absolutely the harness you’re going to want.

The Pros

These provide considerable power with a highly ergonomic design. Notice how large the opening is for the shoulder and front leg, on a properly fitted harness the opening should extend all the way to the last rib. This allows the scapula of the dog to move naturally and the lungs to expand without any straps in the way whatsoever.

The X back is cheap, easy to find, and low-tech. Without any hardware to worry about breaking.

The Cons

The “H back” is an alternate design to the X back that fits some body types better, but has mostly the same principles as an X back.

The “H back” is an alternate design to the X back that fits some body types better, but has mostly the same principles as an X back.

Because the attachment point is at the base of the dog’s tail, there is some pressure pulling the rear end downward while pulling. This is only really an issue with dog sledding, where the attachment to the sled is lower than the top of the dog, where as in bikejoring or skijoring the attachment is above the dog (at the bike handlebars or the skier’s waist).

Some dogs are notorious for escaping these harnesses since they only slip on from the front, but this can easily be solved by adding a strap to the belly.

The Shorty

IMG_1160[20576].jpg

The “shorty” harness has gained popularity due to its increased use in long distance races, most notably by Allen Moore and Aliy Zirkle in the Iditarod and Yukon Quest. A simple design that resembles harness you could find in any pet store.

I think this is a perfect harness for anyone who wants to try pulling sports with their pet dog. And if you decide its not for you, you can still use it as a normal walking harness.

Aliy Zirkle on the Iditarod Trail with her Howling Dog Alaska brand Distance Harnesses. Notice that there are no necklines on these dogs (line that connects the collar to the main line)

Aliy Zirkle on the Iditarod Trail with her Howling Dog Alaska brand Distance Harnesses. Notice that there are no necklines on these dogs (line that connects the collar to the main line)

The Pros

Free hips! If your attachment point is below the dog, there will be no pressure on the hips like we addressed in “the cons” of the X back harness.

This design gives long distance mushers have the ability to shorten their tuglines and eliminate the need for necklines in their gangline setup. Basically, it lets the dogs move in a bit more of a natural way on the trail. They can get around obstacles individually without their collar being attached to the main line.

For me, a small team. I like to use this harness for hikes and walks. My dog isn’t going to be pulling very hard and it stays in place nicely.

The Cons

I can’t imagine the band right around the ribcage is too comfortable, especially for breathing. When I look at the X back and how that area is completely free of any straps, I can see the breathing disadvantages of this design. BUT that is only seems like a real problem if the dog is pulling very hard. On a typical long distance dog sled team, each dog only has about 5 pounds of pressure on its tug once their momentum picks up.

The buckle could potentially be a problem if it breaks, out on the trail there is no way to fix it unless you brought extras.

The Second Skin

IMG_0629[20574].jpg

This was a design I wasn’t entirely sold on when I purchased it, but wanted to try it on my young dog. I fell in love with it! I primarily use it for canicross. He seems comfortable in it and I’ve noticed the design provides more power than the shorty harness without being much different. It’s sort of like a shorty/X back hybrid actually. This harness is unique to the brand Howling Dog Alaska, who make great products and are always innovating new ways for dogs to pull.

The Pros

The organic shape of this harness doesn’t rely on nylon webbing for structure as most other harnesses do, which in this case is advantageous for providing a “tailored” fit to my dog.

The V shape gives the dog more power than a shorty harness, although probably not as much as an X back provides.

The Cons

Some mushers have remarked that the wider chest plate on this design could cause armpit rubbing on some dogs. Rubbing can be a big problem for sled dogs, some are more susceptible to it than others.

Like the shorty harness, there is a nylon strap going across the ribs of this design which could potentially cause discomfort to the ribs if the dog is pulling very hard.

The Freemotion

IMG_3723[20580].jpg

YES the Freemotion harness from Nonstop Dogwear looks like an over-designed mess. I was not sold on it when I first saw it, but the more I looked in to it the more I wanted to try it for myself. This harness is ideal for shorter trips with a small team, like bikejoring or skijoring. My dog Knut pulls like a maniac in this thing. I like that the design derives more power from the base of the neck than the chest due to the two wide straps extending from the shoulders to the rump. This harness was specifically designed for small-team sprint mushers racing in skijor, bikejor, and canicross. The idea behind it was to create a harness that allows the dog to pull VERY hard without squeezing the chest cavity and limiting breathing. It’s very ideal if you only have a one dog team like I do, I’m able to use every ounce of power that my little furry tractor is producing.

The Pros

Highly adjustable. I like how tailored this harness fits when I have it adjusted right.

Everything I mentioned above. This is how I think you can get the most power out of your single dog team. I love it for skijoring and bikejoring. I don’t like it for canicross because I can’t run fast enough for how hard he is able to pull with this thing on.

The Cons

So much hardware on this thing. These harnesses do break, and are harder to fix. So if you don’t like that idea, this isn’t the harness for you.

It’s STIFF. The thing is a little awkward to take on and off.

Harnesses to avoid

Some harnesses are made for simply having a convenient attachment point for a leash, and that’s perfectly fine. But some of these designs can be harmful to your animal, especially when used incorrectly.

Any unpadded harness

If you’re doing any kind of pulling with your dog, you NEED your harness to be padded. Make sure whatever harness you’re using was designed for what you’re using it for. Padding ALL THE WAY AROUND the neck is crucial, this is where a lot of your power is coming from (think of the way horse collars work). You’re also going to want padding on the chest piece because this is also where your power is coming from.

IMG_0777.jpg

The infernal “step in harness

I think these might work fine if you have a 2 pound chihuahua, but I just do not understand the point of these harnesses. Sometimes they are advertised as “anti-pull” harnesses, which only works because the dog is so uncomfortable wearing them that they don’t even want to pull.

Notice how the webbing just cuts right across the shoulder joint? It looks so uncomfortable! Maybe someone can explain to me a practical function for these because I really don’t understand them.

The Famous Front Range

REDSUM.jpg

There are a lot of “outdoor dog” brands? I’m not really sure why we need them. I PERSONALLY think tried and tested working dog equipment is much more reliable than these “innovative” brands preying on REI co-op members. But I’ve never really tested these brands either. But I see people using them A LOT, when I know that there are cheaper and more reliable options available.

images.jpg

I see this “Front Range Harness” from “Ruffwear” LITERALLY EVERYWHERE! You’re not going to pass 5 dogs on a hiking trail without 4 of them wearing one of these. They look really well made and they’re probably great as a convenient leash attachment. But I think there is a problem when people try to use these as pulling harnesses, which I do see quite often. The entire neck is not padded and the shape of the chest piece might choke or chafe your dog.


The “Omnijore”

ruffwear-omnijore-dog-harness.jpg

This is pretty much the same thing as the front range with a pointless strap on the back so it sort of looks like a traditional sled dog harness. It’s twice the price of a real sled dog harness and many times worse. Again, without a fully padded neck your dog is not going to be comfortable nor be able to perform to the fullest. And again, the wide chest plate.

81UUyeSjFIL._AC_SL1500_.jpg

The Kurgo “Long Hauler Cradle Back Joring Harness”

I’m sorry but I have to laugh at that name. What does “cradle back” even mean? This fake marketing stuff is just too much sometimes. The only long haul you’re going to make with this thing is back to the store to return it after your dog chafes his armpits raw.

All that being said, if I ever did see someone using this improper equipment in real life, I would never criticize them. They will figure out that equipment is ideal on their own. It is more important to make them feel welcome in the sport than to give unwarranted advice.

Advice from an Artist Alley Cat

Thomas-O-Malley-Gato-Jazz-83602.gif

Should I start showing at conventions? How do I know I'm ready? What if I don't make any money? How can I start small?

I am in now way a convention veteran. In fact 2017 was the first year I did more than one. But I thought I'd share what I have learned so far. 

Get your feet wet

Go to several comic conventions as a patron. Walk around. Look at the set ups, products, displays, branding. Take notes. If you see someone whose art you really like go talk to them! Artists love talking about their work, as you probably know. Ask them for advice if they're not busy. Geek out over a shared interest. Practice those good business social skills. 

Start small

I was lucky enough to be eased in to the world of doing "product fairs" or whatever you want to call them. Through college I worked at a farmers market booth selling organic soaps and candles, which was surprisingly similar to selling at an artist alley. CUSTOMER SERVICE EXPERIENCE IS SO IMPORTANT! Not just for cons but for all aspects of life. 

From there I did a couple of local craft shows. Usually held at school gyms. Very cheap to get in, pretty good foot traffic for a small venue. I highly recommend doing one of these before getting in to a comic convention/ trade show. It will teach you a lot without much sacrifice. Check your local adverts around the holidays or mother's day and get in contact with the event coordinator to see about getting in.

Build up a portfolio

It's important to have a variety of artwork on display at a convention. You want to present options for your client. I would say around 15 pieces is a good starting point. 

Products

Having different kinds of products is a great idea! Prints are great but different customers want different things. I personally don't have a lot of space on my walls, but I have a huge bookshelf so I tend to buy books and zines. Pins and patches are also very popular right now. I've seen other things such as t shirts, postcards, magnets, tapestries, and banners. Get creative! Maybe you have a product idea no one's seen on the show floor yet. 

Fan art? 

People ask about this a lot. Is it okay to sell fan art?

The general consensus is: as long as it's obviously the artist's own version of it, it's fine. Where you can possibly get in to trouble is when your work looks too similar to the source material. 

The most successful artists make money off of their own individuality, so don't think that people will only like it if it looks like the original. 

Rob.jpg

Original art

It's a common misconception that fan art always sells better than original art. Do not be afraid to put your original art out there! I have found that my original wildlife paintings do a little better than my fan art. You've probably noticed that there are plenty of successful artists at cons that ONLY sell original art. 

Branding

Branding is VERY important. Branding will make your products harmonize in a way that makes customers respect you as a BUSINESS. It is better if you start thinking about this very early in the process. What are the themes of your products? How would you summarize your themes? Base your branding off of that. Is there a color that shows up in every one of your pieces? If so maybe incorporate that color into your branding. Logos are great. Pick a logo that is related to your art and what your business is all about. 

It took me a while to understand my branding, but when I did I was really happy with it. Nature is an underlying theme in all of my drawings so I use leaves, trees, and animals as part of my branding. Coyotes have become my spirit animal of sorts, so I use a coyote for my logos. Green and black are my theme colors, it is very appealing to me and goes with my art since green shows up in almost all of my paintings. 

Printing

I have not tried a whole lot of different printeries. My go to is Costco for business for cardstock laser prints. Costco wholesale only offers photo paper prints (at least in my area). 

Always go laser print, never inkjet. Inkjet printing ink is water soluble. So if someone accidentally sneezes on your print it will be ruined. Laser printing is not waters soluble, and looks way better. 

Make sure your art is saved/scanned in 300dpi or higher! And make sure you aren't blowing up your art too much. A little is okay, but if your art is less than 3/4 of the size of print it is going to look bad. Shrinking your art down to print size is always best! The general rule is make it 1.5-2x larger than you're going to print it. 

The metal wire storage cube things which have no name.

The metal wire storage cube things which have no name.

Set up

I use the metal wire storage cube things. They really need an official name, it's harder to search for them online than you think. There are lots of different ways to use them. Look at how other people display and decide what you want to do. It all depends on your product. Some people use what I like to call the "video game concept artist set-up". For some reason people who do a lot of digital paintings always have this setup. It looks really nice and it might work well for you too!

The "I'm a cool digital artist who probably worked on your favorite video game" set-up. Belongs to Pete Mohrbacher. 

The "I'm a cool digital artist who probably worked on your favorite video game" set-up. Belongs to Pete Mohrbacher. 

Definitely do a test set up at home before the convention. Play around. Know the size of your space. I usually share a table space with my friend Jaiden/Silver-Winged Nightengale. So I'm usually using a 2.5-3.5 foot wide space. Whole artist alley tables are about 6-7 feet. I am really self-doubting so I usually change my set up one or two times during the course of the weekend. I have a different set up almost every time I show. 

Take note of which of your products are popular. If there is one that is overwhelmingly popular, try to highlight that in your display. I feel like most artists have a "magnetic" piece that catches the eye. It brings people to your table. Then they start to look at your other stuff too. For me it's my Robin Hood painting series and my Saw-Whet Owl. I purposely hang the large versions of these prints front and center and incorporate them into my branding. 

Small set up. 4 feet of space, sharing a table.

Small set up. 4 feet of space, sharing a table.

Using a 6 foot table at a local holiday bazarre. 

Using a 6 foot table at a local holiday bazarre. 

If you're sharing a booth, it's a really good idea to partition the table to make it clear you're not the same artist! You'll be surprised how confusing it can be. See the pictures below. Different branding helps out a lot here too. 

Bright eyed, bushy tailed at the beginning of a 3 day con. 

Bright eyed, bushy tailed at the beginning of a 3 day con. 

Mini set up! 3 feet of space, but we had "breathing room" on both sides of the table so it was fine. 

Mini set up! 3 feet of space, but we had "breathing room" on both sides of the table so it was fine. 


Pricing

New artists typically want to set their prices low out of fear that people won't want to buy it otherwise. THIS IS NOT TRUE! Also other artist alley-ers will not like it if your prices are way lower than theirs. 

The typical price for a high-quality, cardstock, 8.5x11 print is around $10. That is the standard I have seen at almost every booth. Larger prints sell for $15-30. Smaller, postcard size prints sell for $3-6. 

Enamel pins usually go for $10. Embroidered patches $5. Large vinyl stickers $3. 

Networking

Make friends!! You will probably see them at the next local convention. You never know what can come from a professional connection so take some time to walk around the show floor, visit other artists, show them your beautiful smile (and business card). They might even want to trade art with you! 

Be approachable

I cannot stress enough how important this is. If you are not a pleasant person you will probably not do well in this kind of business venture. Smile at people. Ask them how their day is going. Compliment their cosplay (they love that). Geek out with them. Tell them the story behind your art. 

Try to read if the person even wants to talk. Sometimes you can just tell the person just wants to silently look through your art, that's fine! Stare them down until they buy something. No, do not do that. Busy yourself with something else until they have a question or something. 

Etiquette

You're going to see a lot of bad and good etiquette at the convention. Take notes and apply this to yourself.

BAD ETIQUETTE

tenor.gif
  • Being a pushy salesman.
  • Telling the customer to do something.
  • Telling the customer a pity story "Aw man, I'm not selling any art. I'm losing so much money :'(". This makes people SO uncomfortable, DON'T DO THIS. 
  • Calling people over from other tables/too far away.
  • Having your art facing in to your neighbors booth. That's their space, they paid for it. 
  • Carnival Barking "STEP RIGHT UP..."
  • Silently staring at the customer as they look through your art.
  • Ignoring the customer outright.
  • Hiding from customers. It's okay, come out from under the table, they won't bite. 

GOOD ETIQUETTE

  • Create a welcoming, laid back environment at your table.
  • Give your customer a very quick tour of your table and what you have, IF they are obviously engaged in your art. 
  • If your customer says they're getting a gift ask them questions to help them know what would be best. 
  • Give out free stickers! Find a way to get cheap stickers and give them to people who buy from you and to kids who stop by. People freaking love this. 
  • Tell people they can touch things! Sometimes people are afraid to touch your stuff, tell them it's okay to touch your stuff. 

TIPS

  • Bring a tablecloth. Most conventions only give you two chairs and a table. 
  • BRING FOOD AND WATER!! Please don't die at the convention, they probably won't invite you back next year. I try to bring lots of protein and sugar rich snacks (nuts, fruit, candy) these will keep your energy up all day. Bring a huge water bottle and drink that thing all day long. 
  • Save your back and bring a wheely-cart, dolly, or wagon to haul your stuff. You might have to walk pretty far. (I've thrown out my back carrying boxes through a parking lot, it wasn't even heavy, save yourself!)

I hope this is helpful! 

BE BRAVE, BE CREATIVE, THANKS FOR READING!

-Kaili

giphy.gif

The Value in Value Studies.

Going in to a huge detailed painting can be cripplingly intimidating. Some people quit before they even start because they don’t know WHERE to start! 

One really good solution to that is value studies. These are particularly useful for photo-realistic paintings with complex shapes and shading. Here’s how I tackle them:

I usually start my wildlife paintings with a photoshop mock-up. I usually use photos that I’ve taken, but on occasion I need to scour the internet for what I need. 

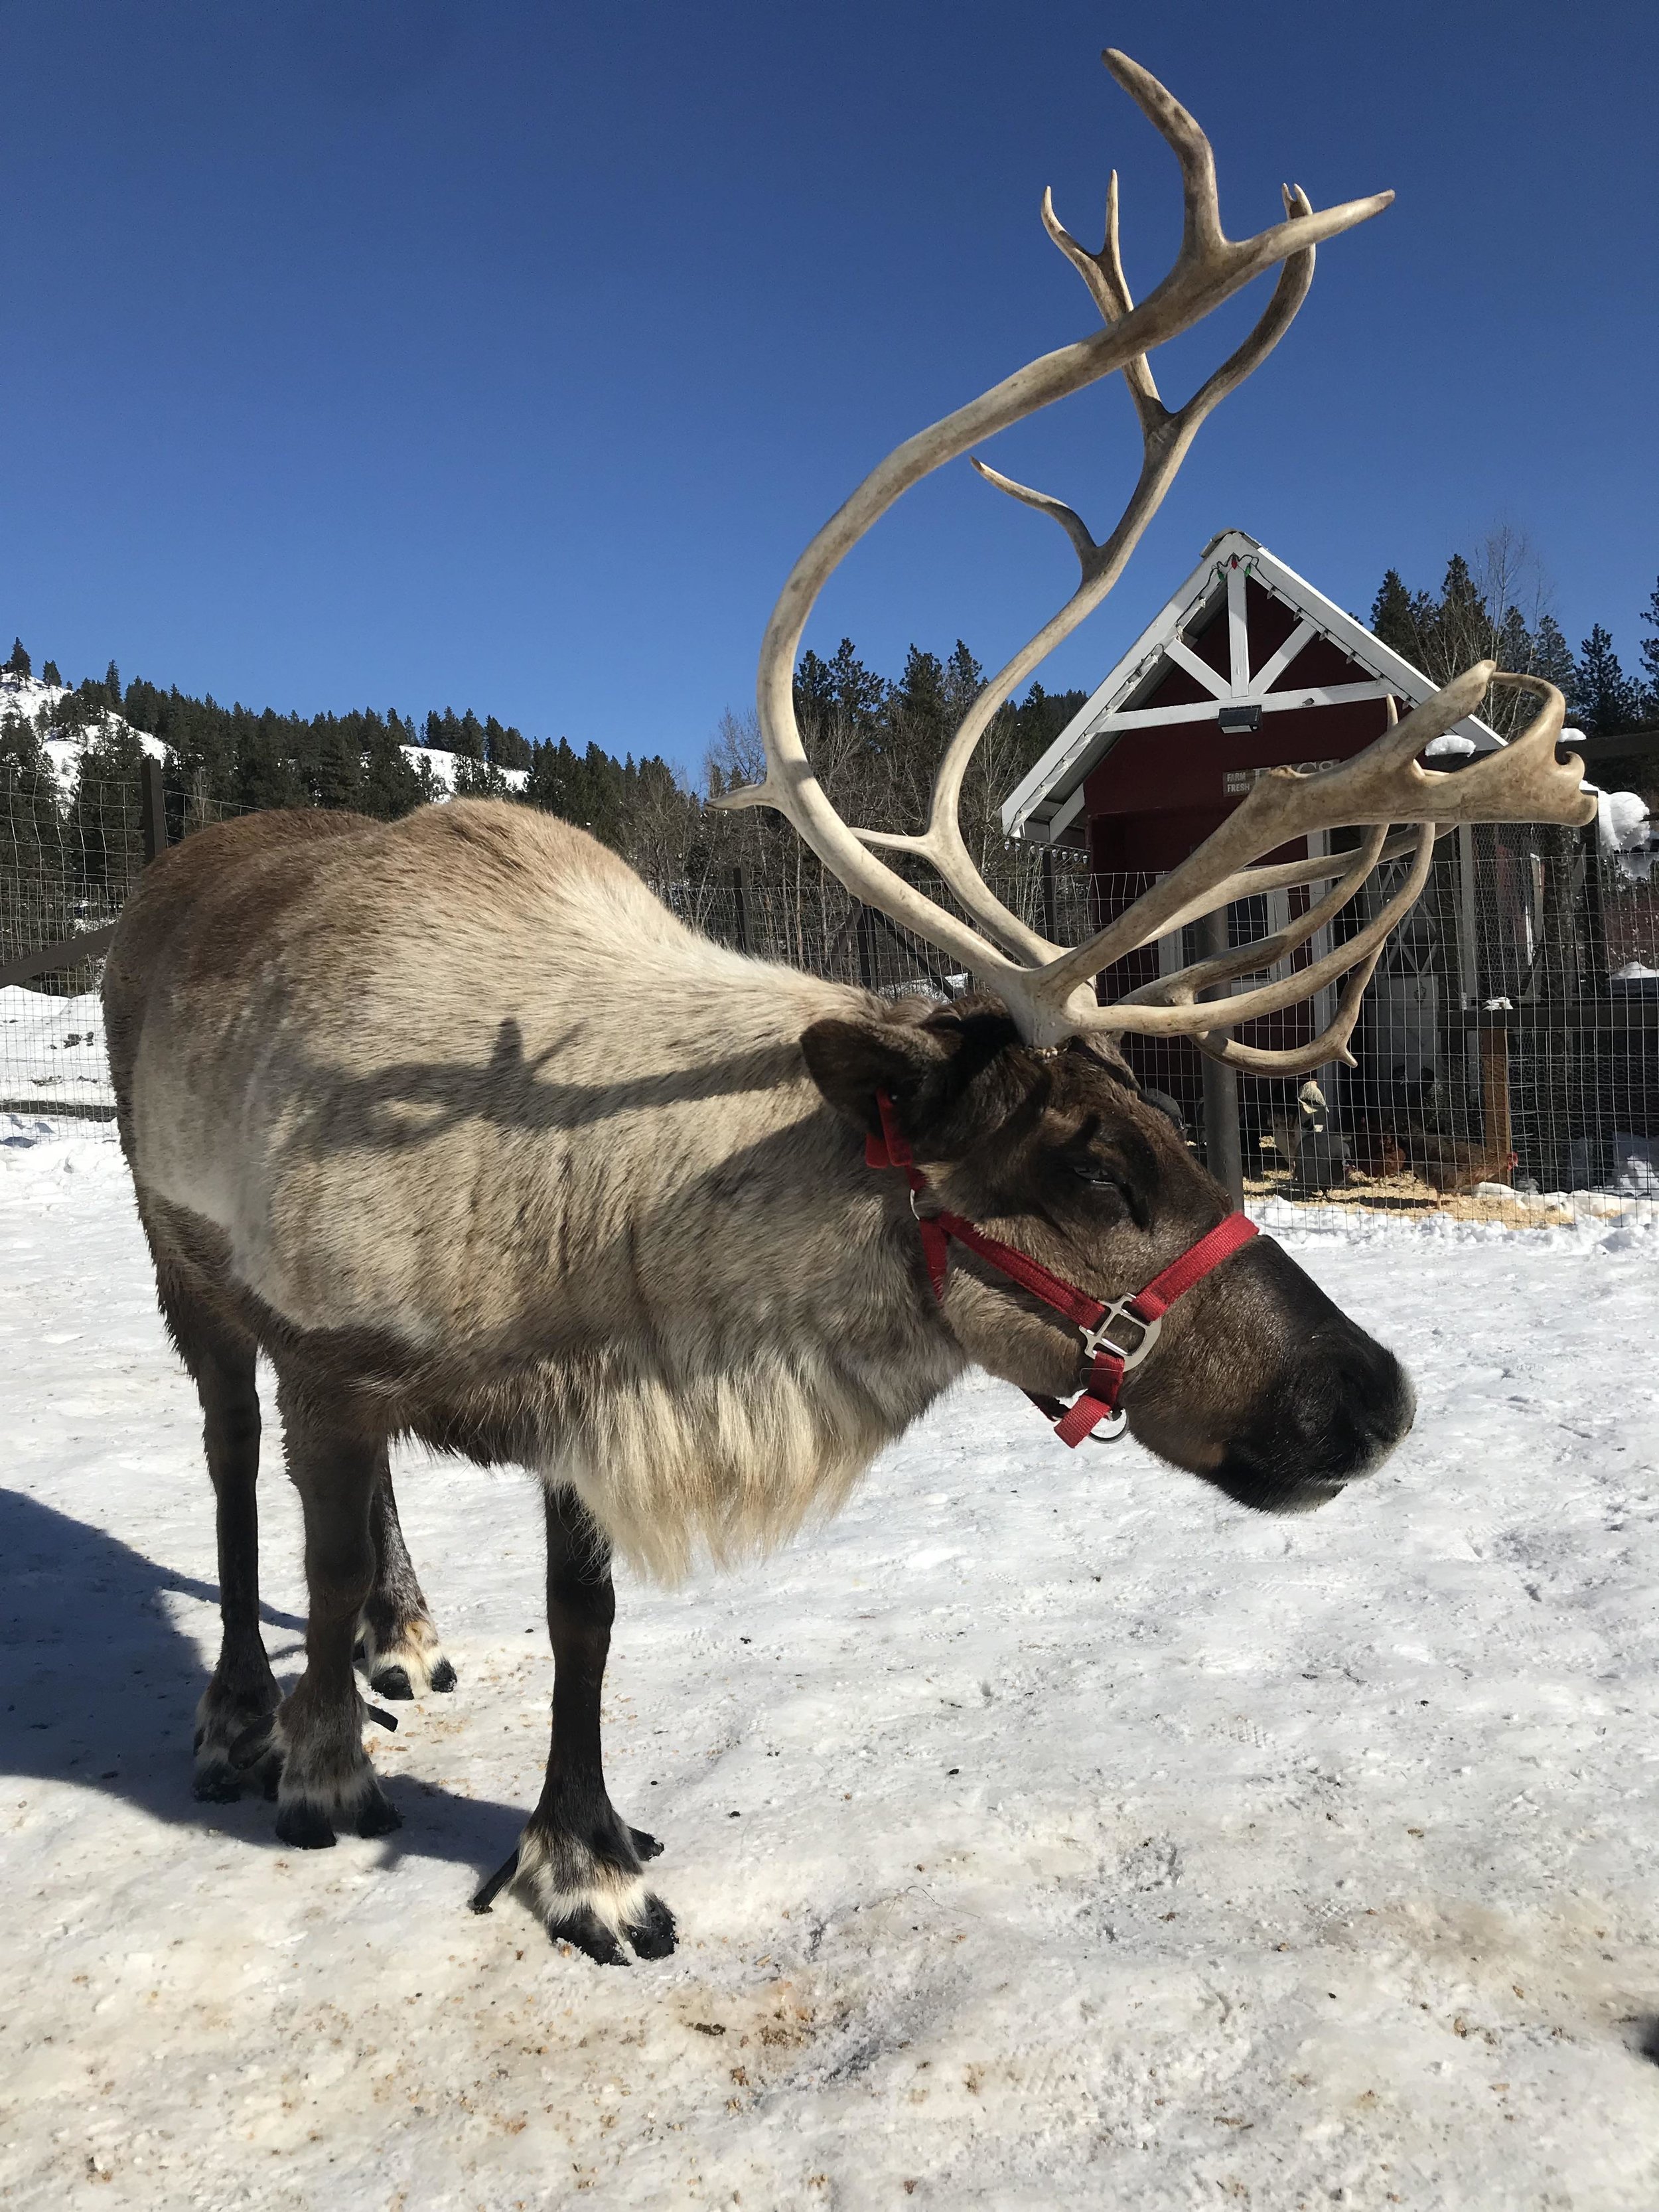
For my latest painting, I used a combination of these photos: 

To make this:

tumblr_inline_p4j1hp7ONy1qcvmdk_540.png

It’s okay if it’s rough, just know that this is simply for reference and you can smooth out any mistakes in the actual painting process. This is also a good time for playing with any fun ideas (like here, adding stars and the moon). 

Now that I’ve decided on my exact layout time to change it to black and white and do my value study. 

tumblr_inline_p4j1lsKlsT1qcvmdk_540.png

I print this out and use tracing paper to transfer it on to sketch paper. Then I use standard drawing pencils to render (6B - 6H lead). I usually start by shading in the darkest areas, and working out from there. 

tumblr_inline_p4kh07y7vD1qcvmdk_540.png

Don’t be afraid to change things during this step! I decided to make the sky at the horizon and the drop shadow from the tree a little darker to compliment the cast shadow from the reindeer. You’ll notice that you’re able to get to know the structure of the subject as you work, this will be helpful during your final painting when making certain decisions. 

Hope this is helpful for future adventures in art! Thanks for reading.

-KP

Website is live!

Welcome to blackseafoam.com!

So excited to have my professional website up and running. There are big things ahead, to keep in touch find me on tumblr, facebook, or instagram.

Or you can sign up for my newsletter here

Subscribe to my mailing list